

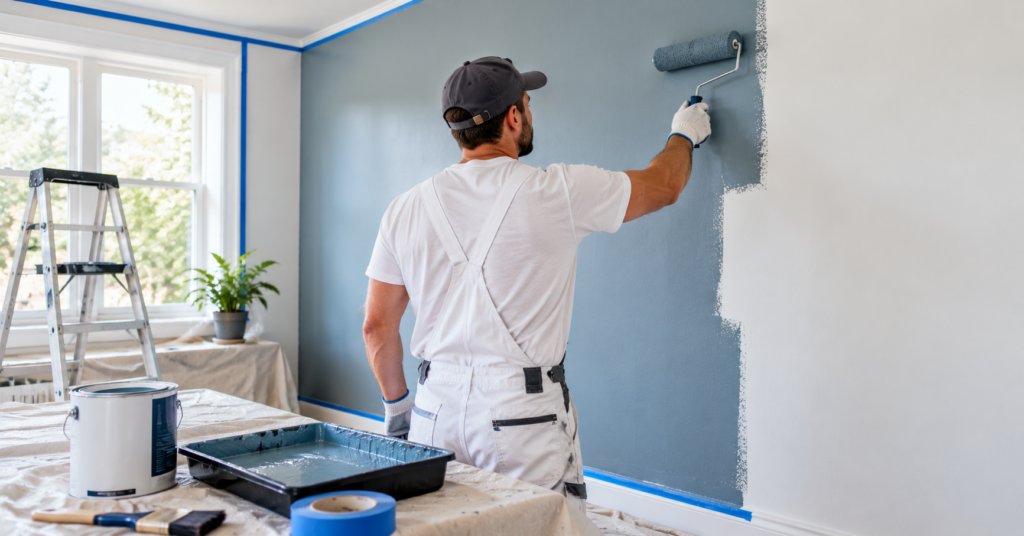
To paint a room, protect the space, clean and repair the walls, prime where needed, cut in the edges with a brush, and roll the open wall areas evenly. Let each coat dry according to the paint label before recoating, then complete trim and final touch-ups.
Good room painting depends more on preparation and sequence than speed. Clean walls, smooth repairs, the correct primer, controlled brushwork, an even roller application, and proper drying time all affect the final finish.
Toronto homeowners who prefer professional help can explore TidyUp HandyCrew’s house painting and surface finishing services in Toronto.This guide is for homeowners, renters, condo residents, and DIY renovators who want to understand how to paint a room from preparation through the final coat.
Key Takeaways
- Clean and repair walls before painting.
- Use primer when the surface requires it.
- Paint the ceiling first if it is part of the project.
- Cut in edges before rolling each wall.
- Keep a wet edge while rolling.
- Follow product-specific drying and recoat times.
- Ventilate indoor spaces during painting.
- Use extra caution before sanding older painted surfaces.
What Do You Need to Paint a Room?
A basic painting setup should let you protect the room, prepare the walls, cut in accurately, and roll paint evenly.
Common supplies include paint, primer where required, an angled brush, roller and suitable roller cover, extension pole, tray, drop cloths, painter’s tape, patching compound, putty knife, sanding sponge, clean cloths, and a ladder when necessary.
Match the roller cover to the wall texture. A smooth wall and a heavily textured wall may require different roller naps.
Also read all paint, primer, filler, and tape instructions before starting. Product-specific directions should take priority over generic painting advice.
How to Prep Walls for Painting
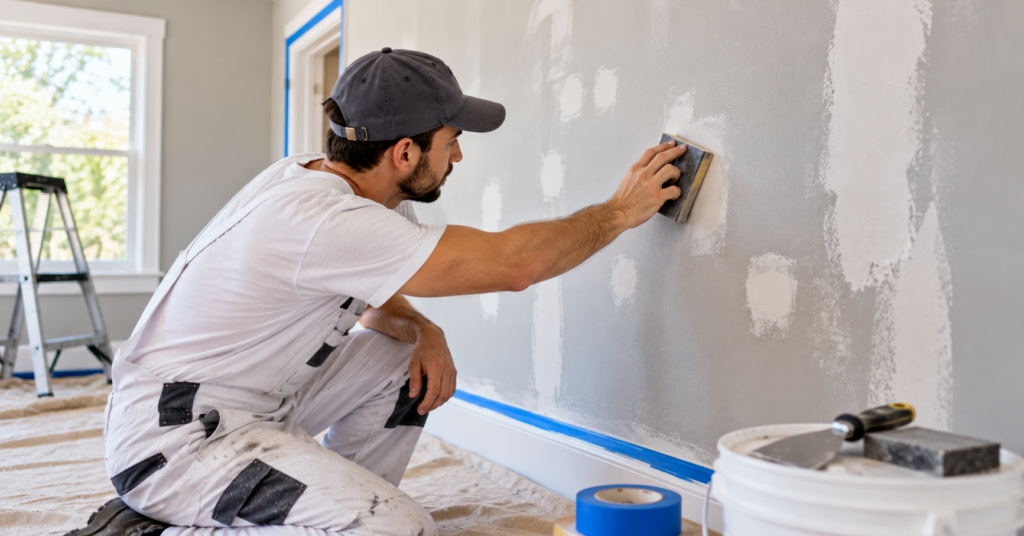
Wall preparation means cleaning the surface, fixing defects, smoothing repairs, and creating a sound base for paint. Painting directly over dust, grease, loose material, or poorly finished patches can make those problems more visible.
First, move furniture away from the walls and protect floors. Remove artwork, outlet covers, switch plates, and other removable items where practical.
Inspect the walls under good lighting. Look for:
- Nail holes and dents
- Loose or flaking material
- Cracks
- Greasy areas
- Dust
- Uneven previous repairs
- Water stains or other discoloration
Repair suitable defects and allow the patching material to dry. Sand repairs only when appropriate for the surface and product. Then remove sanding dust and other residue before primer or paint.
If painting follows renovation work, clean construction dust first. Our guide to painting after renovation explains how cleaning, repair, and painting fit into the finishing sequence.
Do You Need Primer Before Painting?
Primer is needed when the surface requires sealing, stain blocking, better adhesion, or a more uniform base. It is not automatically necessary on every previously painted wall.
| Wall Condition | Primer Approach |
| New drywall | Usually prime |
| Bare drywall patches | Spot-prime or follow system instructions |
| Bare wood | Usually prime |
| Stained areas | Use suitable stain-blocking primer |
| Glossy or difficult surface | May need prep plus primer |
| Clean, sound painted wall | Full primer may not be necessary |
A “paint and primer” product also does not eliminate every primer requirement. Bare materials, stains, repairs, and difficult surfaces may still need a dedicated primer.
How to Paint a Room Step by Step
A practical room-painting sequence is prep, prime where required, paint the ceiling if included, cut in the walls, roll the walls, recoat as needed, then complete trim and touch-ups.
1. Prepare the Paint
Stir the paint thoroughly according to the manufacturer’s directions.
Pour a manageable amount into a tray or working container. Keep the main container covered when possible to reduce contamination and drying.
2. Paint the Ceiling First
If you are repainting the ceiling, complete it before the walls.
This allows small drips or roller splatter to land on walls that have not received their final coat. Sherwin-Williams also recommends the general sequence of ceiling, walls, then trim. Cut in around the ceiling perimeter, then roll the open area.
If the ceiling does not need painting, skip this step.
3. Cut In the Walls
Cutting in means brushing paint along areas the roller cannot reach cleanly, including ceiling lines, inside corners, window and door trim, and baseboard edges.
Use an angled brush and work on one wall or manageable section at a time. Do not overload the brush. Too much paint can create drips and heavy ridges.
Try to roll the wall while the brushed edge is still workable. This helps reduce a visible difference between brushed and rolled areas.
4. Roll the Wall
Load the roller evenly, but do not saturate it until paint drips.
Begin near the upper part of the wall and distribute paint over a manageable area. Use overlapping passes and maintain a wet edge as you move across the surface.
Avoid pressing hard on a dry roller. Excessive pressure can create roller lines and uneven texture.
Work systematically across one wall before moving to the next.
5. Let the Paint Dry
Do not guess the recoat time.
Follow the paint label or technical data sheet. Paint type, humidity, airflow, temperature, colour, and application thickness can all affect drying.
A wall that feels dry in one small spot may not necessarily be ready for another coat everywhere.
6. Apply Another Coat if Needed
Coverage depends on the previous colour, new colour, wall condition, primer, and paint system.
When another coat is required, repeat the same process: cut in the edges and roll the open area evenly.
Avoid trying to achieve full coverage by applying one excessively thick coat.
7. Paint Trim and Touch Up
After the wall coating is ready, complete baseboards, window and door casings, or other trim included in the project.
Use a coating suitable for the trim material.
Finally, inspect the room in both daylight and normal room lighting. Touch up small missed areas only after the paint has dried enough to assess the finish accurately.
What Is the Best Order to Paint?
For a complete room repaint, a practical order is ceiling first, walls second, and trim last.
The sequence works because overhead painting happens before finished walls, while detailed trim work comes after the larger surfaces. However, repairs come before all finish painting.
If trim needs caulking, carpentry, sanding, or patching, complete that preparation before applying the final coats.
How Do You Avoid Roller Marks?
Use an evenly loaded roller, work in manageable sections, overlap wet paint, and avoid repeatedly rolling areas that have already started drying.
Roller marks often come from uneven loading, incorrect roller covers, excessive pressure, too little paint, or losing the wet edge.
Do not stretch one roller load across too much wall.
Once paint begins to set, repeatedly working over it can create texture differences rather than improving the finish.
Painting a Room in Toronto
Toronto homes follow the same basic painting process, but ventilation, building age, condo rules, and renovation history can affect preparation.
Health Canada recommends adequate ventilation during renovation activities such as painting and advises following manufacturer instructions. It also recommends low-emission products where practical.
Older properties need additional caution. Health Canada states that homes built before 1991 may have lead-based paint or older lead-containing base coats. Its guidance warns against casually sanding, scraping, or otherwise disturbing known lead-based coatings because this can release hazardous dust.
For Toronto condos, also confirm building rules, contractor hours, elevator access, parking, and protection requirements for shared hallways before larger projects.
Common Painting Mistakes
Avoid painting over dusty or greasy walls, skipping visible repairs, using the wrong roller cover, cutting in the whole room too far ahead of rolling, applying coats too thickly, ignoring drying times, or assuming every surface needs the same primer.
Another important mistake is sanding unknown old coatings without considering lead risk.
Good preparation usually saves more time than rushing into the first coat.
When Should You Hire a Painter?
Professional painting may make sense when wall repairs, stains, high ceilings, difficult access, multiple rooms, tight scheduling, or finish consistency make the project more complex.
A straightforward bedroom can often be a manageable DIY project. A large interior with extensive repairs and several finishes is different.
For broader local planning, read our interior painting Toronto guide. That article focuses on Toronto interior painting services and project considerations, while this article stays focused on the DIY process.
If your main question is budget rather than technique, see how much it costs to paint a house interior.
FAQs About Painting a Room
What is the correct order to paint a room?
For a complete repaint, paint the ceiling first, then the walls, followed by trim. Complete cleaning, repairs, safe sanding where appropriate, and primer before applying finish coats.
Do I need primer before painting?
Not always. Bare drywall, repairs, stains, bare wood, and certain difficult surfaces commonly need primer. Clean and sound previously painted walls may not require a full primer coat.
Should you cut in before rolling?
Yes. Cut in a manageable section around edges and corners, then roll the nearby wall while the brushed paint is still workable.
How many coats of paint does a room need?
There is no universal number. Coverage depends on the paint, colour change, primer, wall condition, application, and manufacturer recommendations.
Can you paint over old paint?
Yes, when the old coating is sound, clean, compatible, and properly prepared. Peeling, damaged, glossy, dirty, or stained surfaces need additional preparation first.
How long should paint dry between coats?
Follow the recoat time on the paint label or technical data sheet. Humidity, temperature, airflow, and paint thickness can affect drying.
Should you wash walls before painting?
Clean walls when they contain dust, grease, fingerprints, cooking residue, or other contamination. Let them dry before applying primer or paint.
Need Help Painting a Room in Toronto?
To paint a room properly, prepare the walls first, use primer only where needed, cut in the edges, roll each wall evenly, maintain a wet edge, follow recoat times, and complete trim after the main surfaces.
Do not rely on shortcuts when the wall has stains, damage, bare material, loose paint, or an unknown older coating.
The paint and primer manufacturers’ instructions should always guide drying time, compatibility, surface preparation, and recoating.
TidyUp HandyCrew provides house painting and surface finishing services in Toronto for homeowners, condo residents, landlords, and property managers who need help with wall preparation, interior painting, touch-ups, and finishing.
Request a painting quote and share the room size, wall condition, repair needs, colour change, access details, and preferred project timing.
