

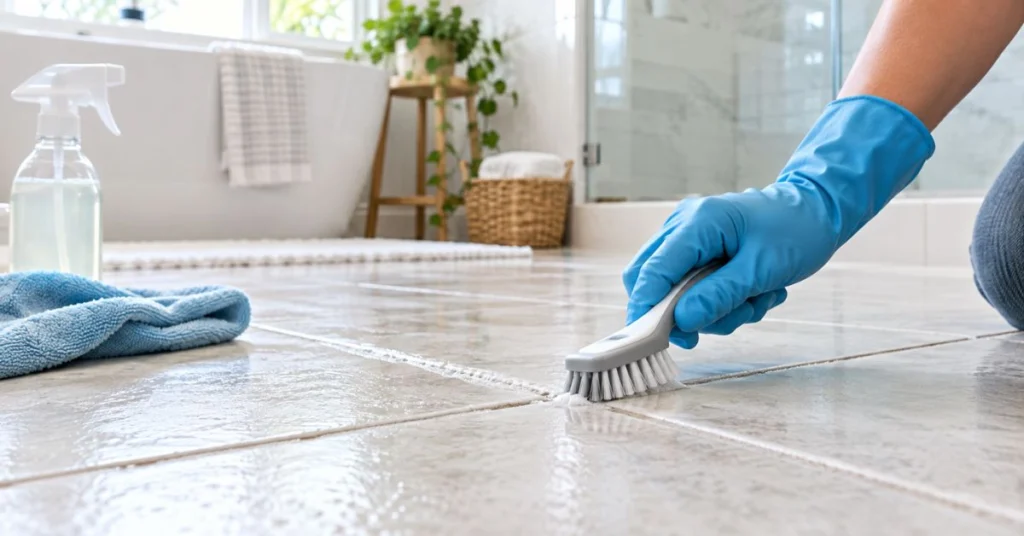
To clean grout without damaging tile, start with the mildest cleaner compatible with both the grout and tile, let it work briefly, scrub with a nylon grout brush, rinse thoroughly, and dry the surface. Avoid strong acids, metal brushes, excessive abrasion, and untested chemical mixtures.
The correct method depends on the grout type, tile material, and buildup. Cement-based grout is porous and can absorb stains, while natural-stone tile needs extra protection from acidic products. The Tile Council of North America recommends alkaline or grout-specific cleaners over acid-based products such as vinegar for routine cement-grout cleaning.
TidyUp HandyCrew also provides tile and floor cleaning services in Toronto when routine cleaning is no longer enough. This guide is for homeowners, renters, condo residents, and property managers who want to clean bathroom, shower, kitchen, or floor grout safely.
Key Takeaways
- Identify the tile and grout before choosing a cleaner.
- Remove loose dirt before wet cleaning.
- Start with a compatible mild or grout-specific cleaner.
- Use a nylon grout brush rather than a metal brush.
- Give the cleaner time to loosen residue before scrubbing.
- Rinse thoroughly so cleaner does not remain in porous grout.
- Avoid vinegar as a default grout cleaner.
- Never mix bleach with vinegar, ammonia, or other cleaners.
- Natural stone needs a non-acidic, stone-safe cleaner.
- Damaged, cracked, or repeatedly stained grout may need repair rather than stronger cleaning.
Why Grout Gets Dirty
Grout gets dirty because many grout types contain pores that can trap dirt, soap residue, grease, moisture, and cleaning-product residue. Floor grout also sits lower than many tile surfaces, so dirty water can settle into the joints during mopping.
The Tile Council of North America notes that cementitious grout can absorb stains because it is porous. Epoxy grout is generally more stain-resistant, so the same cleaning approach does not necessarily apply to every installation.
The type of buildup also changes by room. Bathrooms commonly develop soap residue and moisture-related staining. Kitchens collect cooking residue. Entry and floor grout can darken from tracked-in dirt.
That is why the best way to clean grout is to identify both the material and the problem first.
What You Need
You do not need aggressive tools for most routine grout cleaning.
Prepare:
- Vacuum, broom, or dry microfiber mop
- Nylon grout brush or soft cleaning brush
- Microfiber cloths
- Clean water
- Sponge or clean mop
- Grout-safe or tile-compatible cleaner
- Gloves where required by the product label
- Dry towels
- Ventilation when using household cleaning products
If you are choosing between neutral and stronger cleaning products, our guide to pH-neutral floor cleaners explains how cleaner chemistry can affect different flooring materials.
How to Clean Grout Without Damaging Tile
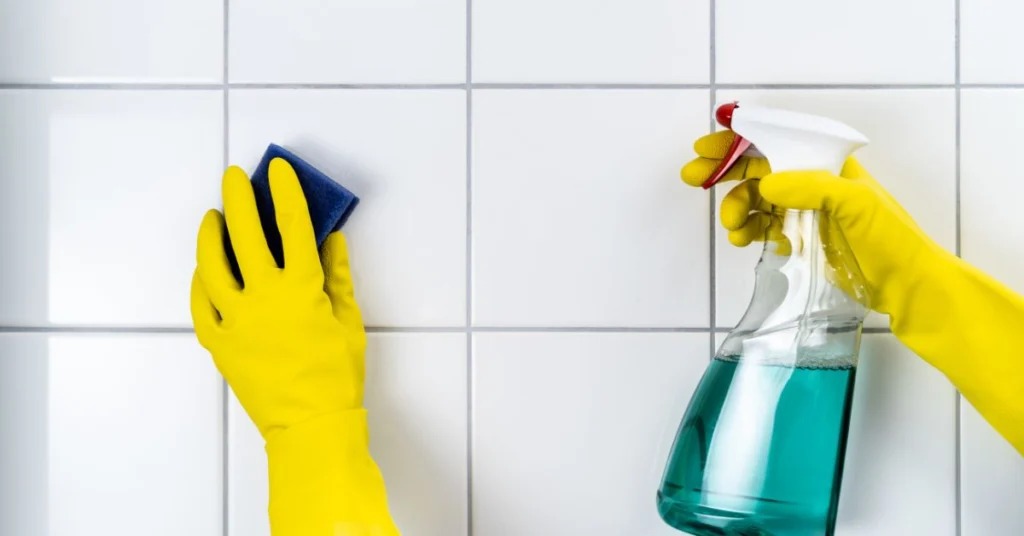
The safest general method is to remove dry debris, test the cleaner, apply it to the grout, allow appropriate contact time, scrub gently, rinse completely, and dry the area. Start mild and increase cleaning strength only when the surface and product instructions allow it.
1. Identify the Tile and Grout
Check whether the tile is ceramic, porcelain, natural stone, or another material.
Also determine whether the grout is cement-based, epoxy, sealed, coloured, or already damaged. When unsure, check installation records or manufacturer instructions.
This step matters because a cleaner that is acceptable for glazed ceramic tile may be inappropriate for marble or limestone.
2. Remove Loose Dirt
Vacuum or sweep before adding water.
This is especially important on floor grout. Wetting loose dust and grit can create dirty slurry that settles back into grout lines.
In showers, remove loose hair and surface debris first.
3. Test the Cleaner
Test the product in a small, less-visible area.
Check both the grout and surrounding tile. Follow label instructions for dilution, dwell time, ventilation, and protective equipment.
Do not assume a household product is safe simply because it is described as “natural.”
4. Apply the Cleaner
Apply a grout-compatible cleaner to a manageable section.
Allow only the contact time recommended on the product label. Do not let a cleaner dry onto the tile unless its instructions specifically allow that.
The goal is to loosen soil before mechanical scrubbing.
5. Scrub With a Nylon Brush
Scrub along the grout joints with a nylon grout brush.
Use enough pressure to lift residue, but avoid metal brushes or highly abrasive tools that can scratch tile or wear the grout surface.
Work in small sections so you can rinse before residue dries.
6. Rinse Thoroughly
Rinsing is an important part of grout cleaning because cleaner residue can remain inside porous grout.
The Tile Council of North America notes that even useful cleaners can leave a sticky film if they are not adequately rinsed. That film can attract new dirt.
Use clean water and change it when it becomes dirty.
7. Dry the Area
Remove excess water with a clean microfiber cloth or towel.
Drying makes it easier to judge the final colour of the grout and reduces the amount of moisture left around joints and corners.
Do not decide that grout is still stained while it is wet. Wet grout often appears darker.
How to Clean Bathroom Grout
Bathroom grout should be cleaned with a tile-compatible cleaner, a nylon brush, thorough rinsing, and good drying. Pay particular attention to shower corners, tub edges, floor grout, and areas where soap and moisture repeatedly collect.
A practical bathroom sequence is:
- Ventilate the room.
- Remove hair and loose debris.
- Apply the appropriate cleaner.
- Clean shower and wall grout.
- Scrub floor grout.
- Rinse all treated areas.
- Dry surfaces and grout lines.
If dark staining returns quickly, do not keep escalating to stronger chemicals without checking the moisture source, caulking, ventilation, and condition of the grout.
For a broader room-by-room process, see our bathroom deep cleaning guide for Toronto.
How to Clean Shower Grout
Shower grout usually needs both residue removal and moisture control. Soap film, water residue, body-care products, and repeated dampness can make shower grout harder to maintain than dry floor grout.
Start with a compatible grout or bathroom cleaner rather than an acid-based homemade mixture.
After cleaning, rinse carefully because product residue can remain on tile ledges and grout. A squeegee or microfiber cloth can help remove excess water after regular shower use.
If caulking is blackened, cracked, loose, or separating, grout cleaner will not repair it. Caulking and grout are different materials and may require different maintenance.
How to Clean Floor Grout
Floor grout should be vacuumed before wet cleaning, then cleaned in small sections so dirty water does not repeatedly settle into the joints.
Start at the far side of the room and work toward the exit.
For heavily trafficked floors:
- Vacuum thoroughly.
- Treat grout lines in manageable sections.
- Agitate with a nylon brush.
- Remove dirty solution.
- Rinse with clean water.
- Dry the area.
Avoid repeatedly mopping with dirty water. Once rinse water becomes cloudy, replace it. This method is especially useful around entrances, kitchens, bathrooms, hallways, and other high-traffic tiled areas.
How to Clean Kitchen Grout
Kitchen grout often needs attention to grease and food residue rather than only mineral or soap buildup. Use a cleaner that is compatible with both the grout and the backsplash or floor material.
Backsplash grout near stovetops may collect airborne cooking residue. Floor grout may hold crumbs, grease, and tracked dirt.
Do not reach immediately for a strong degreaser. Some products can affect finishes, grout colour, or nearby natural stone.
If the rest of the room also needs detailed cleaning, our kitchen deep cleaning Toronto guide covers cabinets, appliance exteriors, backsplashes, floors, and grease-prone areas.
What Cleaners Should You Avoid?
Avoid using a cleaner simply because it is strong. The safest product is one that matches the grout, tile, sealant, and type of buildup.
| Cleaner or Tool | General Guidance | Main Concern |
| Grout-specific cleaner | Usually suitable when label matches surface | Follow instructions |
| Mild alkaline cleaner | Often suitable for cement grout | Rinse thoroughly |
| pH-neutral cleaner | Good starting point for many surfaces | May not remove heavy buildup |
| Vinegar | Avoid as default grout cleaner | Acid can attack cement grout |
| Acid cleaner | Specialist use only | Can damage grout and stone |
| Metal brush | Avoid | Can scratch tile and wear grout |
| Abrasive powder | Use caution | May scratch finishes |
| Bleach | Product- and surface-dependent | Safety, colour and material compatibility |
| Steam | Manufacturer-dependent | Not appropriate for every installation |
Can You Use Vinegar on Grout?
Vinegar should not be the default choice for cement-based grout, and it should be avoided on acid-sensitive natural stone.
TCNA explains that acid can dissolve the cement component of traditional grout. The Natural Stone Institute also warns that vinegar, lemon, and other acidic products can dull or etch calcium-based stones such as marble and limestone.
This is why internet recipes should not replace material-specific cleaning instructions.
How to Clean Grout Around Natural Stone
Natural stone requires a stone-safe, non-acidic cleaning method because acids can etch or dull certain stones.
The Natural Stone Institute recommends neutral cleaners, stone soap, or mild compatible cleaning products for natural-stone surfaces. It also recommends thorough rinsing and drying after cleaning.
This applies to installations that may include:
- Marble
- Limestone
- Travertine
- Some slate
- Granite
- Other natural-stone tile
If you cannot identify the stone, stop before using acid, abrasive powder, or an aggressive grout cleaner.
Is Bleach Safe for Grout?
Bleach should only be used when the product label and the tile-and-grout materials allow it. Never mix bleach with another household cleaner.
Health Canada warns that bleach should not be mixed with ammonia, vinegar, acids, glass cleaners, or other cleaning products because dangerous gases can form. It also recommends following product labels and providing ventilation.
Do not combine cleaning recipes in an attempt to make them “stronger.” One correctly selected product is safer than an improvised chemical mixture.
Grout Cleaning in Toronto Homes
Toronto homes can have grout in bathrooms, condo showers, kitchens, entry floors, mudrooms, laundry areas, and tiled rental units. The cleaning problem often changes by room and season.
During wetter or snowy periods, tiled entry floors can collect more grit and tracked-in residue. Bathrooms may need more attention where ventilation is limited or surfaces remain damp after use.
Condo residents should also consider smaller bathrooms, compact showers, ventilation, and building access when booking professional cleaning.
The cleaning method itself should still be chosen according to the material—not simply the city or season.
Should You Seal Grout?
Some cement-based grout may benefit from an appropriate penetrating sealer, but sealing is not required for every grout type.
Sealer can improve stain resistance, but it does not make grout permanently stain-proof. Epoxy grout and some specialty grout products may have different requirements.
Before sealing:
- Clean the grout fully.
- Remove cleaner residue.
- Allow it to dry as required.
- Confirm the grout type.
- Follow the sealer and grout manufacturer instructions.
Do not seal over damaged grout, trapped residue, or an unresolved moisture problem.
When Cleaning Is Not Enough
Cleaning cannot repair grout that is cracked, missing, loose, deeply deteriorated, or failing around the tile.
You may need repair, regrouting, caulking, or another specialist service when:
- Grout is crumbling
- Large sections are missing
- Cracks repeatedly return
- Tile feels loose
- Caulking has failed
- Moisture is entering behind the surface
- Staining appears to come from behind the installation
- Cleaning produces little improvement
Using stronger chemicals on failing grout can make the situation worse.
When Professional Grout Cleaning Helps
Professional tile and grout cleaning can help when large floor areas, persistent buildup, heavily trafficked grout, or multiple surface materials make DIY cleaning impractical.
Professional help may make sense when:
- Floor grout remains dark after routine cleaning
- A large tiled area needs detailed work
- You are unsure about tile compatibility
- Bathroom grout has widespread buildup
- Rental or move-out deadlines are approaching
- Several tile types need different methods
TidyUp HandyCrew provides tile and floor cleaning services in Toronto for homes, condos, apartments, and other properties needing more detailed floor care.
How to Keep Grout Cleaner
Prevention can reduce how often grout needs heavy cleaning.
Vacuum tiled floors before mopping. Use clean rinse water, remove spills promptly, and avoid leaving cleaner residue behind.
In showers, remove excess water where practical and keep ventilation working properly. In kitchens, wipe cooking splatter before it hardens.
For wider maintenance planning, our guide to deep cleaning vs regular cleaning explains when routine cleaning may no longer cover detailed buildup.
FAQs About Cleaning Grout
Q1: What is the best way to clean grout?
Start with a compatible grout or mild alkaline cleaner, let it work according to the label, scrub with a nylon grout brush, rinse with clean water, and dry the area.
Q2: How do you clean bathroom grout?
Remove loose debris, apply a bathroom- and grout-compatible cleaner, scrub the grout lines gently, rinse thoroughly, and dry the surface. Also address recurring moisture around showers and tubs.
Q3: Can I use vinegar to clean grout?
Vinegar is not a good default cleaner for cement-based grout because acid can attack the cement component. It should also be avoided on acid-sensitive natural stone.
Q4: How do you clean grout without scrubbing too hard?
Give the correct cleaner enough label-approved contact time before agitation. Then use a nylon grout brush rather than abrasive pads or metal brushes.
Q5: How do you clean black grout stains?
First identify whether the dark appearance is surface dirt, product residue, moisture-related staining, or deterioration. Use a compatible cleaner and reassess after the grout dries.
Q6: Can bleach damage grout?
Bleach compatibility depends on the grout, tile, colour, sealant, and product instructions. Never mix bleach with vinegar, ammonia, acids, or other cleaning products.
Q7: When should grout be professionally cleaned?
Professional cleaning may help when large tiled areas, heavily soiled grout, persistent residue, or uncertain surface compatibility make routine DIY cleaning ineffective.
Need Tile and Grout Cleaning in Toronto?
The safest way to clean grout is to identify the tile and grout first, remove loose dirt, use a compatible cleaner, scrub with a nylon brush, rinse thoroughly, and dry the area.
Avoid strong acids as a routine solution, never mix household chemicals, and use extra caution around natural stone.
If grout is cracked, loose, repeatedly stained, or affected by an underlying moisture problem, cleaning alone may not solve it.
TidyUp HandyCrew helps Toronto homeowners, condo residents, landlords, and property managers with detailed tile and floor care when routine cleaning is no longer enough.
Explore tile and floor cleaning services in Toronto or request a cleaning quote with details about the tile type, grout condition, room, and problem areas.
