

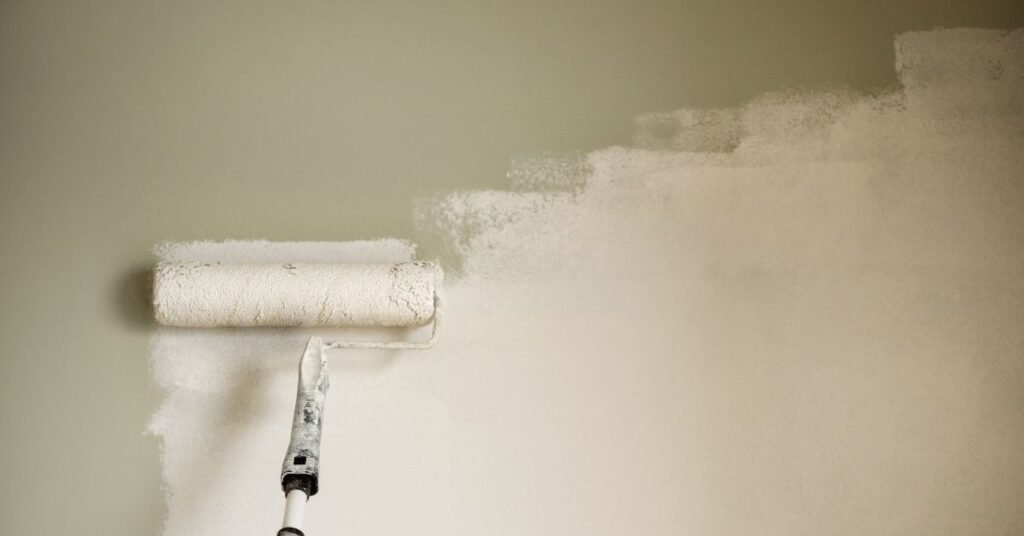
Painting after renovation should usually happen after demolition, drywall repair, sanding, flooring cuts, and other dust-producing work are complete, but before the final post-renovation clean. Walls and trim should be dry, stable, and free of loose dust before primer or paint is applied.
That order matters in Toronto condos, older houses, townhouses, and rental properties where contractors, cleaners, access, ventilation, and move-in dates need coordination. Painting too early can lead to dust in the finish or extra touch-ups.
TidyUp HandyCrew provides house painting and surface finishing services in Toronto for homeowners and property owners finishing renovation work. This guide explains when to paint, what to clean first, how surface preparation works, and when to schedule final cleaning.
Key Takeaways
- Finish dusty renovation work before painting.
- Remove drywall and construction dust from paint surfaces first.
- Prime patched, bare, stained, or repaired areas when required.
- Follow the paint manufacturer’s drying and recoat instructions.
- Ventilate during and after painting when conditions allow.
- Complete final post-renovation cleaning after painting and touch-ups.
Why Painting After Renovation Needs the Right Timing
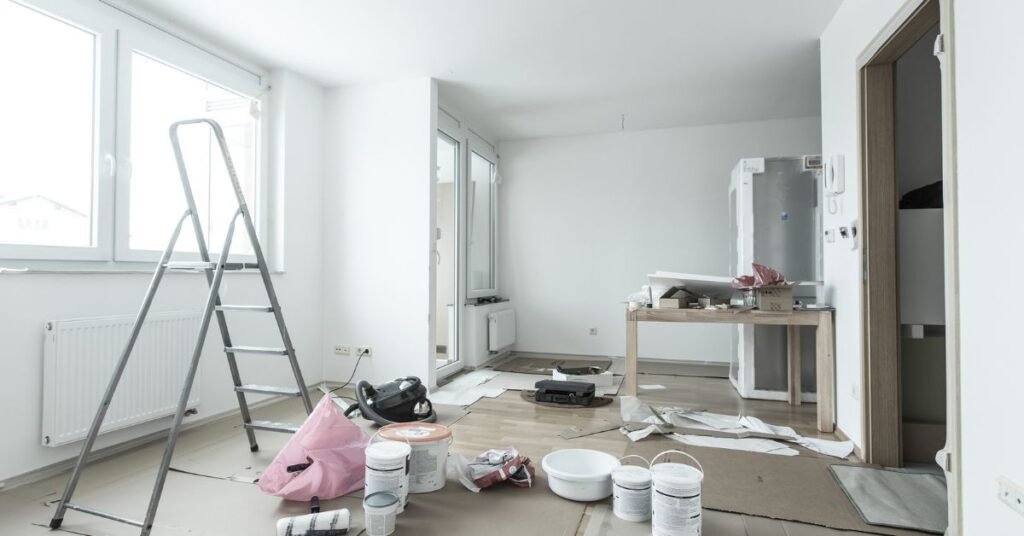
Painting is usually one of the last finishing stages of a renovation. It should follow major repairs and dust-producing work so the new finish is not damaged by cutting, sanding, drilling, flooring installation, or contractor traffic.
The exact point depends on the project. Drywall patches need to be dry and sanded, trim may need filling or caulking, and flooring or cabinet work may create marks that need touch-ups.
This keeps painting separate from the messiest construction stages and helps reduce unnecessary rework.
Quick Answer: When Should You Paint After Renovation?
Paint after major repairs, sanding, and dusty tasks are complete. Clean paint surfaces, prime where needed, apply the required coats, then complete final cleaning after touch-ups.
A practical order is:
- Finish demolition and major renovation work.
- Complete drywall, flooring, trim, cabinetry, and fixture work.
- Remove tools, debris, and loose construction dust.
- Clean walls, trim, and nearby paint surfaces.
- Repair and prime where required.
- Paint ceilings, walls, trim, doors, or cabinets.
- Inspect the finish and complete touch-ups.
- Allow coatings to dry as directed.
- Schedule post-renovation cleaning.
- Move furniture or belongings back when the space is ready.
Best Renovation-to-Painting Timeline
Step 1: Finish Major Construction Work
Complete demolition, drilling, cutting, major repairs, and other tasks that create heavy dust or could damage finished walls.
Step 2: Complete Drywall and Surface Repairs
Finish patching, sanding, trim repair, caulking, and surface corrections. Bare drywall compound or repaired areas may require primer before the finish coat.
Step 3: Complete Fixed Installations
Finish fixed installations that could create additional dust or wall damage, including flooring, cabinets, counters, backsplashes, vanities, and fixtures.
Step 4: Remove Dust From Paint Areas
Vacuum or wipe dust from walls, ledges, trim, baseboards, doors, and nearby surfaces using methods suitable for the material. Avoid painting over loose drywall or construction dust.
Step 5: Prime, Paint, and Touch Up
Apply primer where needed, then paint according to the coating system and manufacturer instructions. Protect new floors, counters, and fixtures. After the final coat, inspect for missed patches, thin coverage, edge issues, or marks that need touch-ups.
Step 6: Complete Final Cleaning
Once painting and touch-ups are complete and the coating has dried as directed, schedule the detailed final clean before furniture, boxes, staging items, or tenants return.
What to Clean Before Painting After Renovation
Cleaning before painting is surface preparation, not the final house clean. The purpose is to remove dust and residue that may interfere with a smooth finish or paint adhesion.
Check:
- Walls and repaired drywall
- Trim and baseboards
- Door frames and window ledges
- Shelves and built-ins
- Vents near the paint area
- Floors beside walls
- Cabinet exteriors near work zones
- Dusty corners and edges
Use a cleaning method suitable for the surface and type of dust. Allow damp-cleaned areas to dry fully before primer or paint is applied.
What to Clean After Painting Is Finished
Final cleaning happens after the painting stage because the room may still contain light dust, masking materials, packaging, footprints, and surface residue.
A post-paint clean may include floors, baseboards, window ledges, counters, cabinet exteriors, doors, handles, switch plates, kitchen and bathroom surfaces, and nearby rooms affected by renovation dust.
TidyUp HandyCrew’s post-renovation and construction cleaning services in Toronto can help with the final reset after painting, flooring, drywall, kitchen, bathroom, or other renovation work.
Painting After Drywall Repair
Drywall repair is one of the clearest examples of why surface preparation matters. Joint compound, patching, and sanding can leave fine powder on the repaired wall and nearby trim or floors.
Before painting, confirm the repair is dry, smooth, dust-free, and ready for coating. Look for ridges, pinholes, sanding marks, texture differences, and exposed compound. Primer can help create a more uniform surface over bare or repaired drywall.
Do not move directly from sanding into painting. Remove sanding dust first, including residue on trim, baseboards, ledges, and floors around the repaired area.
Painting After Flooring Work
Flooring installation can create sawdust, cutting residue, scuffs, and marks around baseboards and door trim. New flooring also needs protection if painting continues afterward.
Check baseboards, shoe moulding, trim joints, door casings, wall edges, and any dust from cutting materials. If baseboards were removed and reinstalled, nail holes or joints may need finishing before the final coat. Painters should protect new floors using materials suitable for the flooring type.
Painting After Kitchen Renovation
Kitchen renovations combine several trades in a small space, so painting should be coordinated with cabinets, counters, backsplash work, appliances, plumbing fixtures, flooring, and trim.
Before painting, confirm dusty cutting and patching are complete. Check for drywall repairs, cabinet installation marks, backsplash edges, grease or residue, and gaps that still need finishing.
Protect new counters, cabinets, sinks, floors, and appliances. After touch-ups are complete, clean the kitchen before returning food, dishes, or small appliances.
For larger projects, TidyUp HandyCrew’s home renovation and upgrades services in Toronto can support work before painting.
Painting After Bathroom Renovation
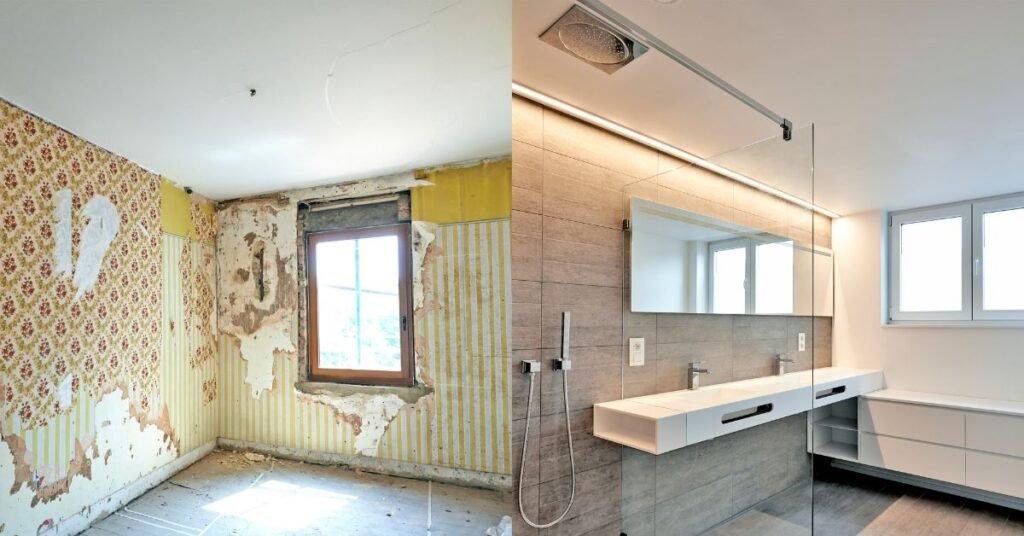
Bathroom painting needs a dry, prepared surface and careful attention to ventilation and moisture. Tile work, vanity installation, plumbing access, drywall repair, and trim work should be finished before the final coats.
Check repaired drywall, vanity and mirror edges, tile transitions, trim, door frames, fan areas, moisture marks, and the paint finish selected for the room. Do not paint over an active moisture or mould problem. The underlying cause should be addressed before cosmetic finishing.
Health Canada also recommends ventilation during renovation and when using paint or other products that may release volatile organic compounds (VOCs). Its renovation and DIY safety guidance also recommends considering low-emission or low-VOC products where appropriate.
Painting After Basement Renovation
Basements often involve drywall, flooring, stairs, utility spaces, and new trim. Before painting, use good lighting to check drywall dust, trim joints, baseboards, stair areas, and signs of moisture.
Inspect again after the final coat dries because different lighting angles can reveal missed touch-ups.
Renovation vs. Painting vs. Post-Renovation Cleaning
| Service | Main Purpose | Best Time to Book | Typical Scope |
| Renovation services | Repair or improve the home | Before major work starts | Drywall, flooring, fixtures, room upgrades |
| Painting services | Finish prepared surfaces | After dusty work and repairs | Prep, primer where needed, paint, touch-ups |
| Post-renovation cleaning | Remove remaining dust and residue | After painting and touch-ups | Floors, ledges, cabinets, trim, kitchens, bathrooms |
When dusty work and repairs are complete, move to house painting and surface finishing services in Toronto.
Schedule post-renovation and construction cleaning after the painting stage and final touch-ups.
Painting After Renovation in Toronto Condos and Apartments
Toronto condos and apartments add scheduling and access issues. Building rules can affect work hours, deliveries, elevators, ventilation, and final cleaning.
Before booking, confirm:
- Elevator reservations
- Parking or loading access
- Concierge or buzzer instructions
- Building work hours
- Common-area protection
- Ventilation options
- Furniture movement
- Waste rules
- Move-in or handover deadlines
These details are especially important when painters, renovation crews, and cleaners need to work on different days within the same building schedule.
Painting After Renovation for Landlords and Property Managers
Rental properties need a clear handover sequence: finish repairs, paint, allow required drying time, complete the final clean, then prepare the unit for the next occupant.
Durable finishes and neutral colours may simplify ongoing maintenance, but the right choice depends on the property and intended use.
Property managers should also confirm access, contractor timing, building rules, and tenant deadlines before scheduling painting or cleaning.
What May Require Add-Ons or Separate Services?
Some conditions may need extra time, special tools, or separate providers:
- Large drywall repairs
- Active water damage
- Mould remediation
- Smoke or heavy staining
- Wallpaper removal
- Cabinet refinishing
- Specialty coatings
- Major trim repair
- Electrical or plumbing work
- Large debris or junk removal
- Carpet or upholstery cleaning
- Duct or HVAC cleaning
- Exterior washing or painting
- Full post-construction cleanup
Mention these conditions before requesting a quote so the scope can be assessed correctly.
Older Toronto homes may also need extra care before sanding or disturbing older coatings. Health Canada notes that homes built before 1991 may contain lead-based paint or older lead-containing base coats. If lead is suspected, appropriate assessment should happen before sanding, scraping, or other work that creates dust.
How to Prepare Before Painters Arrive
Before painters arrive:
- Confirm dust-producing renovation work is complete.
- Ask contractors to remove tools and loose debris.
- Clear access to walls and trim.
- Move small items and protect valuables.
- Confirm colours and paint finishes.
- Identify patches, stains, dents, and repairs.
- Share parking, elevator, or building instructions.
- Confirm protection for new flooring and fixtures.
- Secure pets and keep children away from work areas.
- Discuss ventilation and cleanup expectations.
Health Canada recommends good ventilation during major painting and renovation activities and suggests choosing low-emission or low-VOC products when possible. Always follow the paint manufacturer’s instructions for application, drying, ventilation, and recoating.
How to Prepare for Final Cleaning After Painting
Do not schedule the detailed final clean while painters are still sanding, touching up, or moving equipment through the space.
Confirm painting and touch-ups are complete, allow coatings to dry as directed, ask painters to remove tools, keep floors accessible, identify dust-heavy rooms, and share access or condo instructions.
This prevents cleaners from finishing a room only to have additional sanding, drilling, or paint touch-ups create new dust.
How Long Does Painting After Renovation Take?
There is no universal timeline for interior painting after renovation. Room size, surface condition, repairs, primer, number of coats, trim, ceilings, cabinets, access, crew size, and drying requirements all affect the schedule.
Several renovated rooms or a full interior repaint can take multiple days. Detailed trim, cabinet refinishing, major wall repairs, colour changes, or restricted condo work hours can extend the schedule.
Ask for a timeline based on the actual scope and coating system rather than relying on one fixed day count.
How Much Does Painting After Renovation Cost?
Painting cost depends on preparation as well as square footage. Renovated walls may need patching, sanding, primer, trim work, surface protection, and touch-ups.
Cost factors include:
- Number and size of rooms
- Wall and ceiling condition
- Drywall repairs
- Primer requirements
- Paint quality and finish
- Number of coats
- Trim, doors, or cabinets
- Colour changes
- Access and parking
- Protection of new floors or fixtures
For a separate pricing breakdown, read our house painting services cost guide for Toronto.
A project-specific quote is more useful when renovation work has changed the condition of the surfaces.
How Much Does Cleaning After Painting and Renovation Cost?
Post-renovation cleaning cost depends on property size, dust level, rooms affected, access, and scope. Drywall dust, kitchens, bathrooms, vents, cabinets, condo restrictions, and deadlines can affect pricing.
For a separate breakdown, read the post-renovation cleaning cost guide for Toronto.
Common Mistakes When Painting After Renovation
Avoid:
- Painting before dusty work is finished
- Painting over drywall dust
- Skipping primer where required
- Ignoring moisture or staining
- Failing to protect new floors and counters
- Moving furniture back too soon
- Scheduling final cleaning before touch-ups
- Ignoring condo access rules
- Assuming every surface uses the same coating system
Book Painting, Renovation and Cleaning Services
Painting after renovation works best when the timing is clear. Finish major renovation work first, clean dusty surfaces, prime where needed, paint carefully, complete touch-ups, and then schedule final cleaning.
TidyUp HandyCrew helps Toronto homeowners, condo owners, landlords, property managers, contractors, and busy families coordinate renovation, painting, finishing, and post-renovation cleaning.
Ready to finish your renovation properly? Book house painting services,book post-renovation cleaning, or request a painting and renovation quote today.
FAQs About Painting After Renovation
Should you paint before or after renovation?
In most projects, paint after major renovation work, drywall repairs, sanding, flooring cuts, and other dusty tasks are complete. Painting near the end reduces the chance of fresh walls being damaged or contaminated by later work.
Should you clean before painting after renovation?
Yes. Remove loose dust and residue from walls, trim, baseboards, ledges, and nearby work areas before painting. This is part of surface preparation. The detailed final post-renovation clean normally happens after painting and touch-ups.
Should post-renovation cleaning happen before or after painting?
Both stages may involve cleaning, but they serve different purposes. Clean paint surfaces before priming or painting. Schedule detailed final post-renovation cleaning after painting, touch-ups, and other dusty work are complete.
How long should you wait to paint after drywall repair?
Wait until the repair material is fully dry and ready to sand or coat according to the product instructions. After sanding, remove dust and inspect the patch. Primer may be required before finish paint.
Should you ventilate while painting after renovation?
Yes, when outdoor conditions and product instructions allow. Health Canada says ventilation is especially important during renovations and when using paints, varnishes, glues, and other chemical products.
