

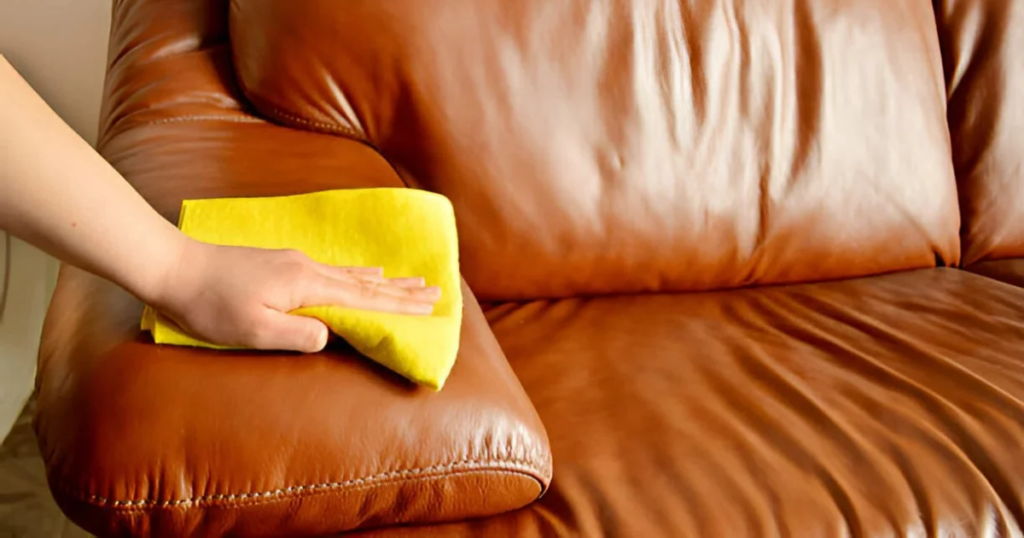
To clean a leather sofa safely, first identify the leather type and check the manufacturer’s care instructions. Remove loose dust with a soft vacuum attachment, then use a cleaner approved for that leather, wipe gently with a microfiber cloth, allow the surface to air dry, and condition only when recommended for the material.
The cleaning method matters because protected or pigmented leather can usually tolerate more routine care than aniline, semi-aniline, suede, or nubuck. Using too much moisture, harsh household cleaners, abrasive tools, or an unsuitable conditioner can affect the colour, finish, or texture.
For Toronto homes, condos, apartments, and rental properties, regular dust removal and manufacturer-approved leather care can help manage everyday body oils, crumbs, pet hair, spills, and surface buildup.
TidyUp HandyCrew provides carpet and upholstery deep cleaning services in Toronto for suitable upholstered furniture and household fabrics. This guide explains how to identify your leather type, clean a leather sofa step by step, handle common stains, condition suitable leather, and know when professional advice is the safer option.
Know Your Leather Type Before You Clean Anything
Most people grab a cloth and start wiping. That is the mistake.
Leather is not one material: There are several distinct types, and the wrong cleaner on the wrong leather can cause permanent discolouration, drying, or cracking within a single cleaning session. Before you touch your sofa with anything, spend two minutes figuring out what you are working with.
Pigmented (Protected) Leather
This is the most common type in Canadian homes, and the most forgiving. Pigmented leather has a polymer coating on the surface that gives it an even colour and a slightly smooth, almost plastic-like feel.
The easiest way to identify it: drop a small amount of water on an inconspicuous spot. If it beads up and sits on the surface, you almost certainly have pigmented leather. It handles mild soap and water well, which is why most of the cleaning steps in this guide apply to this type.
Aniline and Semi-Aniline Leather
This type looks richer and more natural. You can see the grain of the hide clearly, and the colour has more depth and variation. But that natural beauty comes with a cost. Aniline leather has no protective coating, which means liquids absorb directly into the hide.
Semi-aniline has a light protective layer, but it is still far more sensitive than pigmented leather. Use minimal moisture, work quickly, and never let any liquid sit on the surface.
Suede and Nubuck
These are a completely different category. Both have a soft, brushed texture. And both require a completely different cleaning approach. No water. No soap. Full stop.
Suede and nubuck need dry cleaning methods only, such as a soft suede brush or a dedicated dry eraser. Using water on these materials causes permanent watermarks and matting that cannot be reversed at home.
How to Do a Quick Patch Test
Whatever leather type you have, always do a patch test first. Apply a small amount of your chosen cleaner to a hidden area, such as the back of a cushion or the underside of an armrest. Wait five minutes. Check for colour change, darkening, or any surface reaction.
If nothing happens, you are safe to continue. If the leather reacts at all, stop and reassess your product choice. This one step takes less than ten minutes and can save your sofa.
What You’ll Need to Clean a Leather Sofa
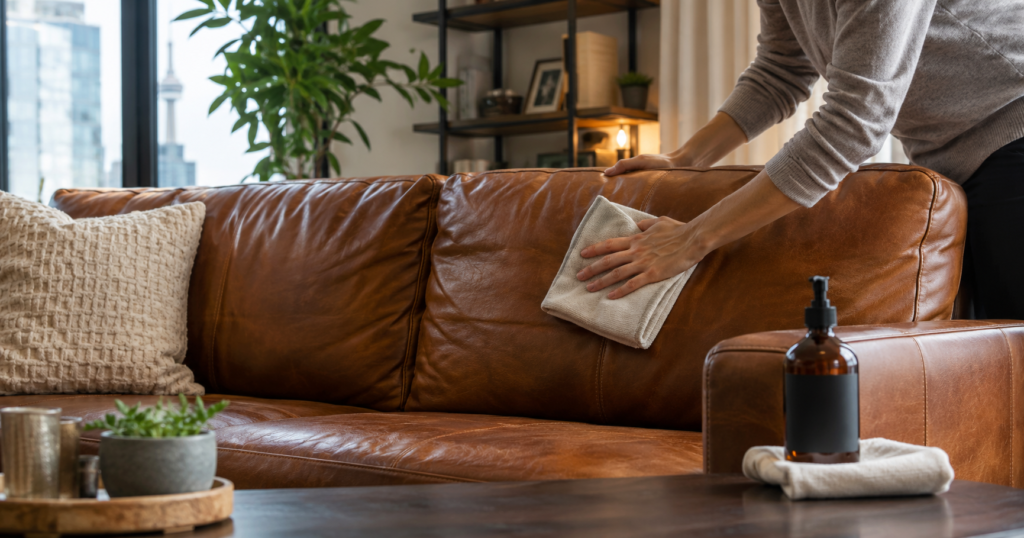
Before gathering cleaning products, check the sofa manufacturer’s care instructions and identify the leather finish. A cleaner that works on protected leather may not be suitable for aniline, suede, or nubuck. No expensive kits required. Most of what you need is already in your home.
Here is what to gather before you start:
- A soft-bristle vacuum attachment: Standard vacuum heads can scratch the surface. Use the brush attachment only.
- Two microfibre cloths: One for cleaning, one for rinsing. Microfibre is gentle and highly absorbent without being abrasive.
- Distilled water: Not tap water. Toronto’s tap water contains minerals that can leave faint marks on leather as it dries. Distilled water avoids this entirely.
- A small amount of mild soap: A few drops of castile soap or a pH-neutral dish soap works well. You do not need much.
- A purpose-made leather conditioner: This is the step most people skip, and it is arguably the most important one. Any reputable leather conditioner from a hardware or furniture shop will work.
- Optional: a store-bought leather cleaner: If you prefer not to mix your own solution, a dedicated leather cleaning product is a reliable alternative. Check that it is suitable for your specific leather type before applying.
That is the full list. Simple, low-cost, and effective.
How to Clean a Leather Sofa: Step by Step
To clean a leather sofa safely, vacuum loose dirt first, use a cleaner approved for the leather type, wipe with a lightly damp microfiber cloth, allow the surface to air dry, and condition only if the manufacturer recommends it. These steps are intended mainly for pigmented or protected leather.
Before starting, check the sofa manufacturer’s care instructions and test the cleaning method on a small, hidden area. Aniline leather, semi-aniline leather, suede, and nubuck may require different products and techniques.
Step 1: Remove Cushions and Vacuum First
Remove loose seat cushions where possible, then vacuum the sofa using a soft brush attachment.
Pay close attention to:
- Seams and creases
- Cushion edges
- Armrests
- Areas between cushions
- The base of the sofa
- Spots where crumbs and pet hair collect
Vacuuming first helps remove dust, grit, and other loose debris before a damp cloth touches the leather. Rubbing dirt across the surface can create unnecessary friction and may affect the finish over time.
Make sure the sofa is free of loose debris before moving to wet cleaning.
Step 2: Choose a Leather-Safe Cleaning Solution
Use a leather cleaner approved for your sofa’s finish and follow the product or manufacturer instructions.
If the care instructions specifically allow a mild soap-and-water method, mix a small amount of mild soap with distilled water. Avoid making the solution heavily soapy.
Using more cleaner does not necessarily produce a better result. Excess product can leave residue on the leather and may affect its appearance or feel.
Step 3: Wipe Down the Leather Surface
Dip a clean microfiber cloth into the approved cleaning solution and wring it out thoroughly. The cloth should feel slightly damp rather than wet.
Work in small sections, starting at the top of the backrest and moving downward. Wipe gently instead of scrubbing aggressively.
Focus on high-use areas such as:
- Armrests
- Seat edges
- Back cushions
- Headrest areas
- Frequently touched sections
If the cloth becomes visibly dirty, switch to a clean section or rinse and wring it out before continuing.
Avoid soaking seams, stitching, cushion edges, or other areas where moisture can collect.
Step 4: Remove Any Cleaner Residue
If the cleaner you are using requires a follow-up wipe, dampen a second clean microfiber cloth with plain distilled water and wring it out well.
Gently wipe the leather to remove remaining cleaner or soap residue.
Do not saturate the surface. The goal is to remove residue without introducing unnecessary moisture.
Some dedicated leather-cleaning products do not require rinsing, so always follow the product instructions rather than applying the same method to every sofa.
Step 5: Let the Sofa Air Dry
Allow the leather to dry naturally in a well-ventilated room.
Avoid using hair dryers, space heaters, or other direct heat sources to speed up drying. Excessive heat can dry the leather unevenly and may affect the finish.
Keep the sofa away from strong direct sunlight while it dries. If practical, improve normal room ventilation without directing intense heat onto the leather.
Drying time varies with the amount of moisture used, room temperature, humidity, and leather type. Continue only when the surface is completely dry.
Step 6: Apply Leather Conditioner if Recommended
Once the sofa is fully dry, check whether the manufacturer recommends conditioning for that type of leather.
For suitable finished leather, apply a small amount of leather conditioner to a clean cloth and spread it evenly according to the product instructions. Test it on a hidden area first, particularly if the sofa has never been conditioned before.
Conditioning can help suitable leather maintain its feel and appearance, but not every leather type should be treated the same way. Standard leather conditioner may be inappropriate for suede, nubuck, or certain specialty finishes.
If you are unsure about the leather type or the sofa has difficult stains, discolouration, or widespread buildup, consider professional carpet and upholstery deep cleaning services in Toronto before trying stronger products.
How to Remove Specific Stains from a Leather Sofa
General cleaning handles everyday grime. Stains are a different problem entirely, and each type needs its own approach.
Ink or Pen Marks
Act fast. Fresh ink is far easier to remove than dried ink.
Dip a cotton swab into rubbing alcohol and dab, do not rub, directly onto the mark. Use light pressure and replace the swab frequently. Rubbing spreads the ink further into the leather. Keep dabbing with fresh swabs until the mark lifts.
For dried ink that has been sitting for days, results will vary depending on how deeply the ink has absorbed. If dabbing with alcohol does not shift it, a professional clean is your safest next step.
Grease or Oil Stains
Water makes grease worse. Do not reach for a damp cloth.
Instead, sprinkle a small amount of cornstarch or talcum powder directly onto the stain and leave it for a minimum of four hours, ideally overnight. The powder draws the oil up and out of the leather. Once it has sat long enough, brush it away gently with a soft cloth and follow up with your mild soap solution.
This method works well on fresh grease. Old oil stains that have fully absorbed into the hide are much harder to shift without professional equipment.
Water Marks and Rings
Water marks on leather look counterintuitive. More water actually fixes them.
Take a damp cloth and lightly moisten the entire panel around the mark, not just the spot itself. When you wet only the stain, it dries with a new ring around the edge. Wetting the whole section evenly allows it to dry uniformly, and the mark disappears as it dries. Follow with conditioner once dry.
Pet Hair and Pet Odour
For pet hair, a slightly damp rubber glove works better than most lint rollers. Run your hand across the surface with light pressure and the hair clumps together and lifts off easily.
Pet odour is a separate issue. Pet oil and dander absorb into leather over time in a way that regular wiping cannot fully address. For light odour, sprinkle a small amount of baking soda on the surface, leave it for a few hours, then vacuum it off gently with the brush attachment. For a persistent or strong pet smell, professional upholstery cleaning is the only reliable solution.
Mold or Mildew Spots
Mold on a leather sofa usually means there is a moisture problem in the room, not just on the surface.
Mix equal parts rubbing alcohol and water in a small bowl. Apply to the affected area with a cloth, using light circular motions. This kills the surface mold without soaking the leather. Once clean, dry the sofa thoroughly and improve ventilation in the room.
But here is the thing. If mold has penetrated deeply into the cushioning or seams, surface treatment will not solve it. The mold will return. At that point, professional assessment is the right call.
What You Should Never Use on a Leather Sofa
Some of the most common household cleaning products can damage leather badly. Before you reach for something from your kitchen or bathroom cabinet, check this list.
- Bleach. It strips colour permanently and breaks down the leather’s surface coating. Even diluted bleach is not safe on any leather type.
- Ammonia-based sprays. Many multi-surface cleaners contain ammonia. It dries leather out aggressively and causes long-term cracking.
- Baby wipes. Most baby wipes contain alcohol, fragrance, or preservatives that strip natural oils from leather. Occasional use on pigmented leather may not cause immediate damage, but regular use degrades the surface over months.
- Excess dish soap. A few drops in distilled water is fine. Using dish soap at full strength, or in large amounts, leaves a residue that attracts dirt and dulls the finish.
- Hair dryers and heat sources. Already covered in the drying step, but worth repeating. Forced heat causes leather to dry unevenly and crack.
- Paper towels. They feel soft, but paper towels are abrasive on leather surfaces. Over time, they cause micro-scratches that dull the finish. Always use a microfibre cloth.
- Saddle soap on delicate leather. Saddle soap is designed for thick, heavy-duty leather like saddles and boots. On aniline or semi-aniline sofa leather, it is far too harsh.
- Too much water. Leather is not waterproof. Soaking it causes swelling, watermarks, and weakens the hide over time.
How Often Should You Clean a Leather Sofa?
The answer depends on how much use the sofa gets, whether you have pets or children, and how dusty your home tends to be. But as a general rule, this three-tier schedule works well for most Toronto households.
| Frequency | What to Do |
| Weekly | Wipe down with a dry microfibre cloth to remove dust and surface debris |
| Monthly | Light damp wipe using your mild soap and distilled water solution |
| Every 6 to 12 months | Full deep clean followed by leather conditioning |
Stick to this schedule and your sofa will stay in good condition with minimal effort. Skip it for a year and you are dealing with built-up grime, dull leather, and early cracking.
One note for Toronto winters
The heating season runs from roughly October through April. During those months, indoor air gets significantly drier due to forced-air heating. Consider moving your conditioning cycle to every three to four months during winter rather than waiting the full six to twelve months.
Toronto Homeowners: Why Your Leather Sofa Needs Extra Attention in Winter
Toronto winters can change indoor conditions that affect leather furniture. Heating systems and cold outdoor air can contribute to lower indoor humidity, while sofas placed close to heating vents, radiators, or strong sunlight may experience more drying over time.
Watch Indoor Heat and Humidity
Dry indoor conditions can leave some leather feeling stiffer or looking dull, especially when the sofa is exposed to direct heat for long periods.
Health Canada recommends keeping indoor relative humidity generally between 30% and 50% to support a healthy indoor environment. Use a hygrometer if you want to monitor humidity rather than relying on guesswork. Health Canada’s healthy home guidance also notes that both very low and high humidity can create indoor problems.
For leather furniture:
- Avoid placing the sofa directly beside heating vents or radiators.
- Keep it away from prolonged direct sunlight where possible.
- Vacuum dust from seams and cushions regularly.
- Check high-use areas for dryness, stains, or changes in texture.
- Follow the manufacturer’s instructions before applying conditioner.
Do Not Over-Condition Leather in Winter
More conditioner is not automatically better. Conditioning frequency depends on the leather type, manufacturer guidance, product used, room conditions, sunlight, and how often the sofa is used.
Protected leather may tolerate periodic conditioning when recommended, while aniline leather, suede, nubuck, and specialty finishes can require different care. Always test products on a hidden area first.
For broader guidance on stains, upholstery materials, and professional cleaning options, see our sofa and upholstery cleaning guide for Toronto.
If your leather already shows deep cracking, peeling, dye loss, or structural damage, cleaning or conditioning alone may not restore it. A dedicated leather repair or restoration specialist may be the better option.
When Should You Call a Professional to Clean Your Leather Sofa?
DIY care is usually enough for light dust and routine maintenance, but some sofa problems need a more careful assessment.
Consider professional help when:
- A stain remains after gentle, leather-safe cleaning
- The surface is cracking, peeling, or losing colour
- You cannot identify the leather type
- A large or heavily used sofa has significant buildup or odour
- Moisture or recurring mould is present
Avoid repeatedly scrubbing stains or experimenting with stronger household cleaners, especially on aniline, suede, nubuck, or unknown leather finishes.
For more information about professional cleaning methods, fabric types, stains, and upholstery care, read our sofa and upholstery cleaning guide for Toronto.
Frequently Asked Questions
Q1: Can I use baby wipes to clean a leather sofa?
Answer: baby wipes contain alcohol or fragrance that strips natural oils from leather over time. Occasional use on pigmented leather may be fine, but not recommended for regular cleaning.
Q2: Does vinegar damage leather sofas?
Answer: Straight vinegar can dry out and discolour leather. A very diluted solution (1 part vinegar to 10 parts water) can be used cautiously on some leather types, but a mild soap solution is always safer.
Q3: How do I get a bad smell out of a leather sofa?
Answer: Baking soda lightly sprinkled and left overnight can absorb odours. Ventilating the room and keeping humidity controlled also helps. For deep pet odour or mold smell, professional cleaning is more effective.
Q4: Can I use olive oil or coconut oil to condition my leather sofa?
Answer: These home oils can temporarily soften leather but often leave residue, attract dirt, and can go rancid over time. A purpose-made leather conditioner is much safer and longer-lasting.
Q5: How long does it take for a leather sofa to dry after cleaning?
Answer: Air drying typically takes 1–2 hours for a light clean. After a full deep clean, allow 3–4 hours before sitting. Never speed the drying with heat sources.
Conclusion
Regular care can help a leather sofa stay cleaner and maintain its appearance over time. Vacuuming loose dust, treating spills promptly, using products suitable for the leather type, and following the manufacturer’s care instructions are more important than using strong household cleaners or too much moisture.
Toronto homes can also experience changing indoor conditions throughout the year, especially during the heating season. Checking the leather periodically for dryness, stains, surface buildup, or changes in appearance can help you address problems before they become harder to manage.
TidyUp HandyCrew provides carpet and upholstery deep cleaning services in Toronto for suitable sofas, chairs, carpets, and upholstered surfaces. If your leather sofa has deep cracking, peeling, dye loss, or structural damage, a dedicated leather repair or restoration specialist may be more appropriate than cleaning alone.
Ready to discuss your furniture-cleaning needs? Contact TidyUp HandyCrew or view TidyUp HandyCrew on Google before requesting a quote.
